
Boost your conversion rate by personalizing your landing page content through email using CPV Lab ad tracker.
In this tutorial I’m going to show you exactly how to add a users name, location, and even email into your landing page or sales page using CPV Lab dynamic insertion.
Step 1: Install URL Params plugin
First, we need to install and active the “URL Params” WordPress plugin.
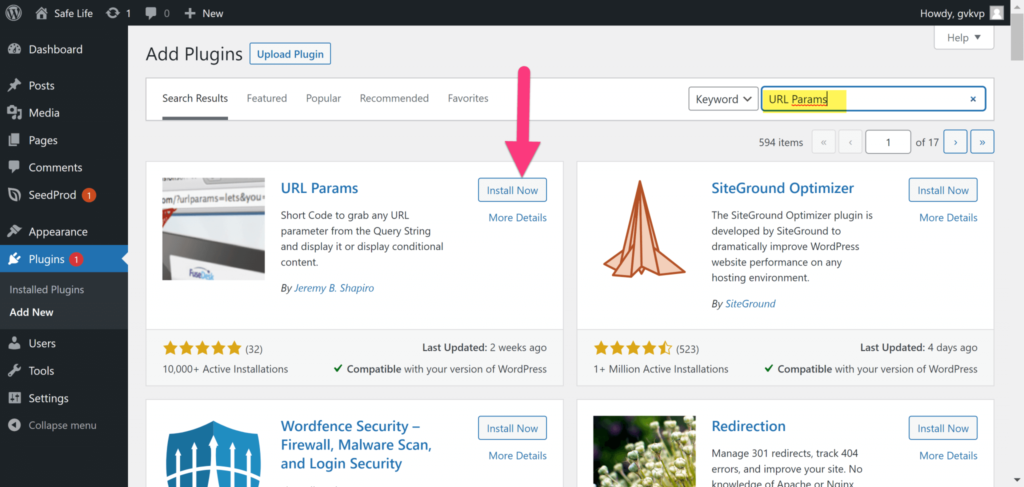
You can read the detailed guide to install the URL Params plugin here.
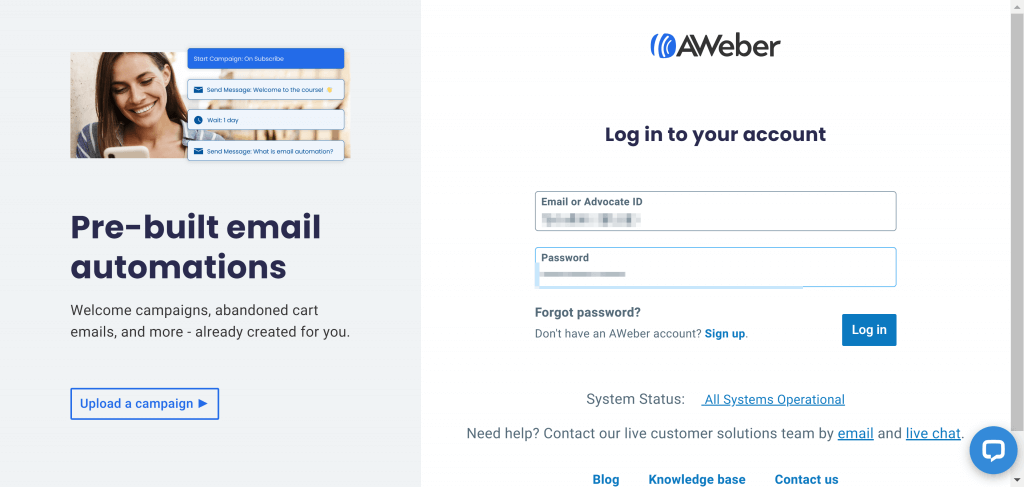
Step 2: Go to AWeber
After installing the URL Params plugin we need to log into our AWeber account.
You want to create a new message in AWeber to send your affiliate offers via Email.
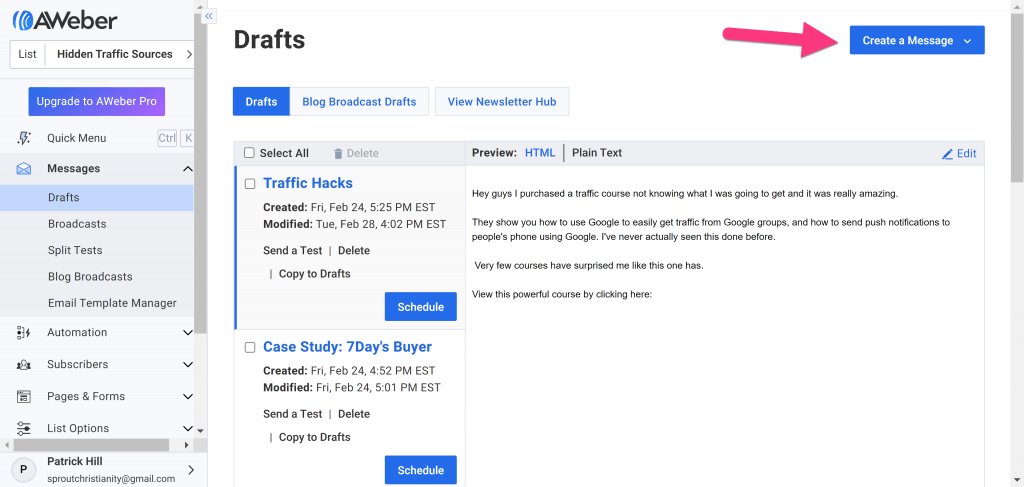
Create a new message by clicking the “Messages” tab in the left hand column.
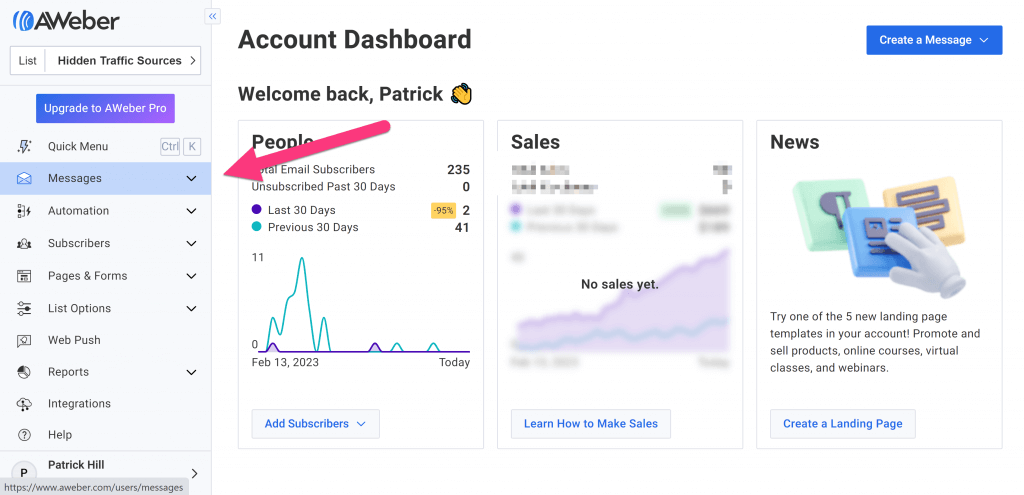
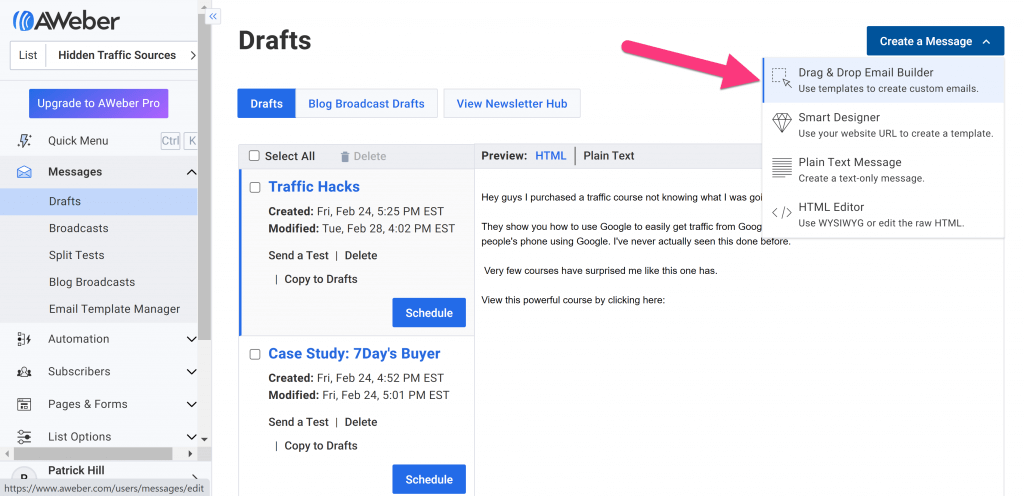
Then, click the “Create a Message” button and select an email format you would like to use.
We’re using the “Drag & Drop Email Editor“, but you can use any of AWeber’s email editing options and it will still work.
Step 3: Dynamic Variables on your landing page
Now you need to decide what type of information you’d like to place on your landing page like the user’s name, location, etc.
The purpose is to get that information from AWeber and use it for your landing page copy.
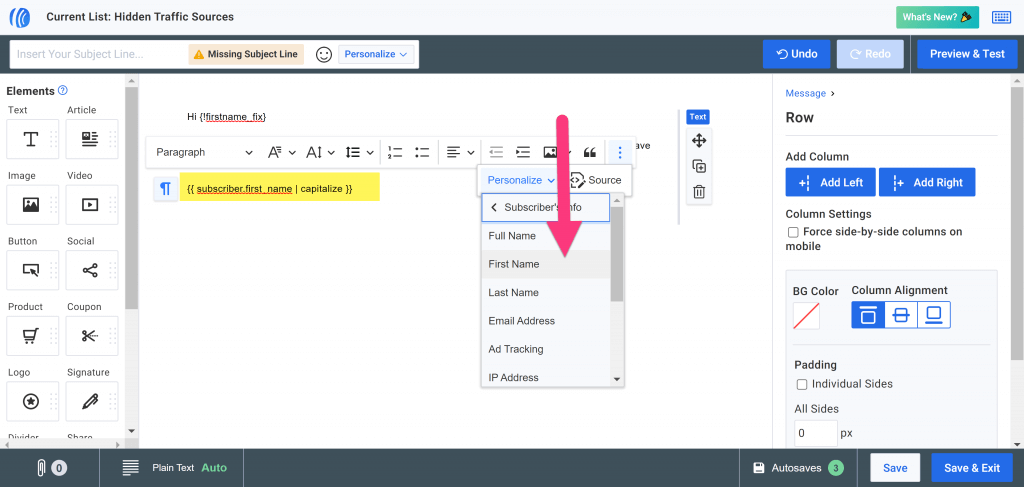
So, copy the AWeber token (code) needed to insert the user’s information.
For example to insert the name of the user in Aweber we have to use the code:
{{ subscriber.first_name | capitalize }}Every time this code is placed in the email it will be replaced with the user’s name. Now we want to use this code for our landing page.
This is a list of my personal favorite AWeber tokens:
| Site Name | Dynamic Token: |
| Full Name | {{ subscriber.name }} |
| First Name | {{ subscriber.first_name | capitalize }} |
| Last Name | {{ subscriber.last_name | capitalize }} |
| Subscriber’s Email | {{ subscriber.email }} |
| Region | {{ subscriber.signup.region }} |
| City | {{ subscriber.signup.city }} |
AWeber’s tokens can also be found in their email editor in the personalization drop down menu.
You can also find additional tokens here:
Step 4: Update your CPV Lab campaign
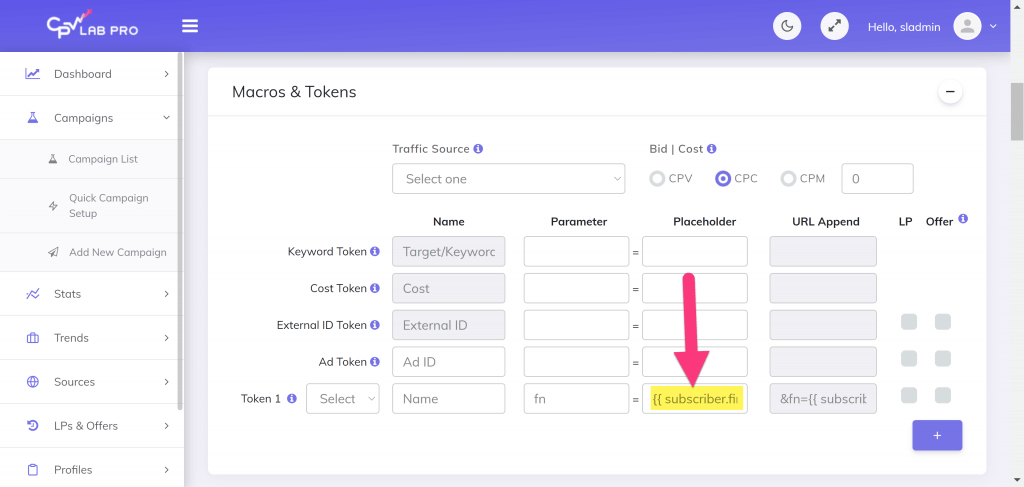
Go to your CPV Lab campaign and create a new parameter.
Note: We’re naming the parameter “fn” in this tutorial, but name it whatever is the easiest for you to remember.
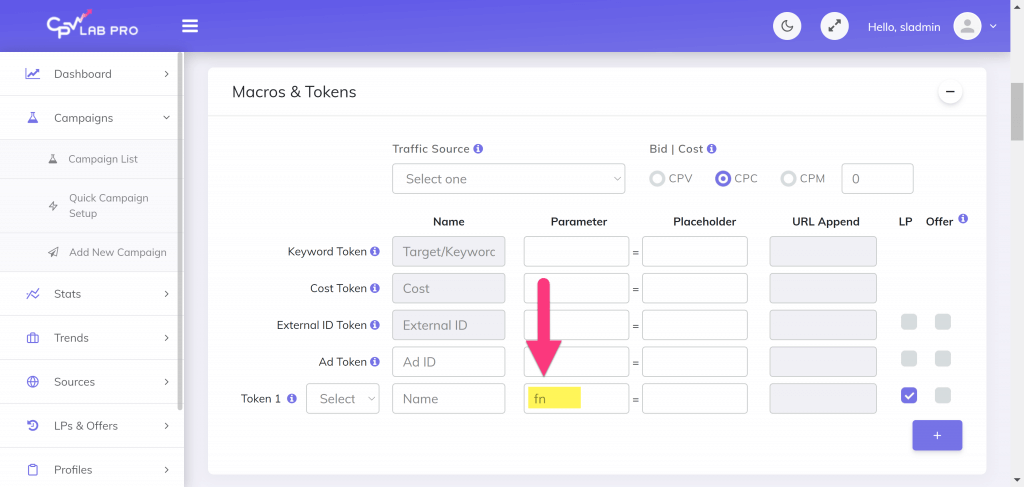
Next, paste AWeber’s token into CPV Lab Pro’s “Placeholder” box.
Click the “LP” check mark to pass the variable to the landing page in the right hand column.
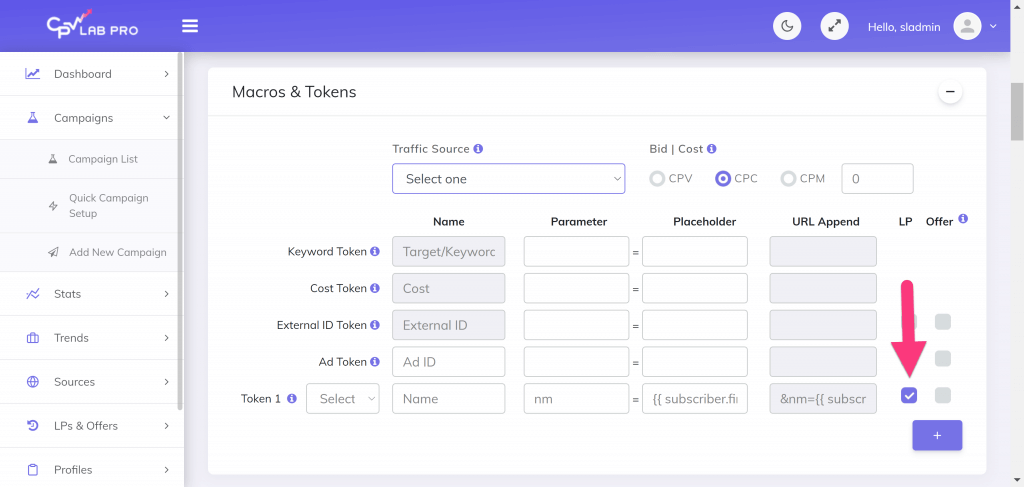
Edit the other fields (like offers, landing page, redirects, etc) in your campaign and save it.
Step 5: Use your tracking link in AWeber
Now, copy the CPV Lab campaign URL (this is your tracking link).
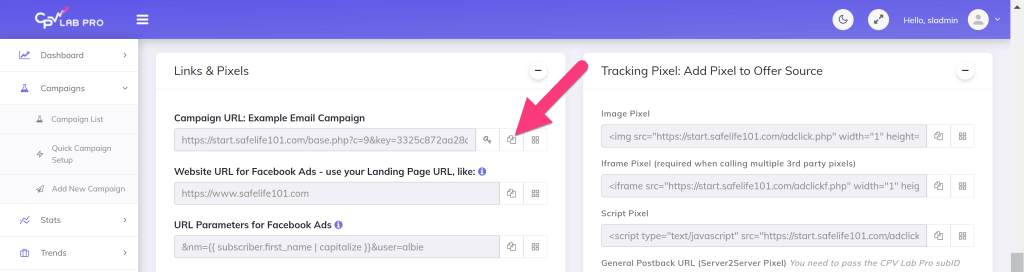
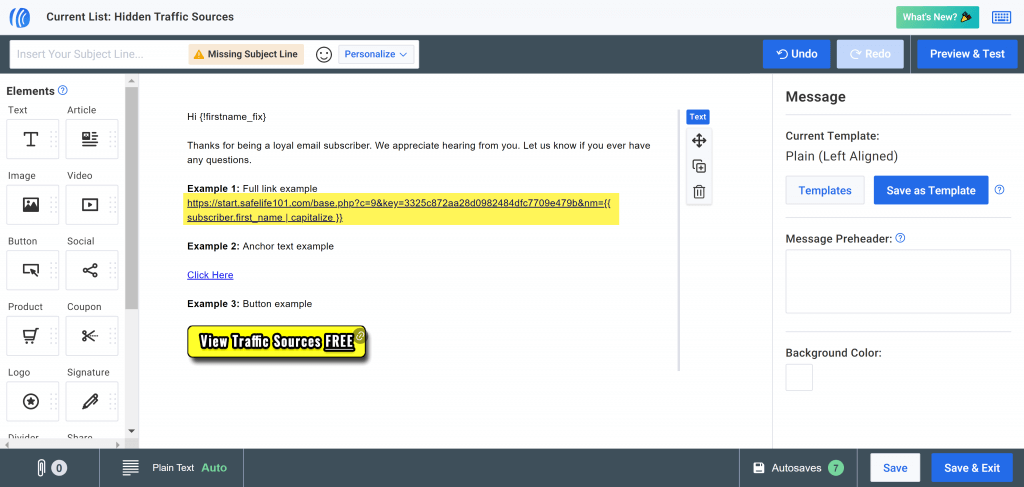
And, create a hyper link to any text or button in your AWeber message.
You want all the CTAs in your message to go the tracking link from CPV Lab so you get everything tracked.

Step 6: Update your WordPress landing page
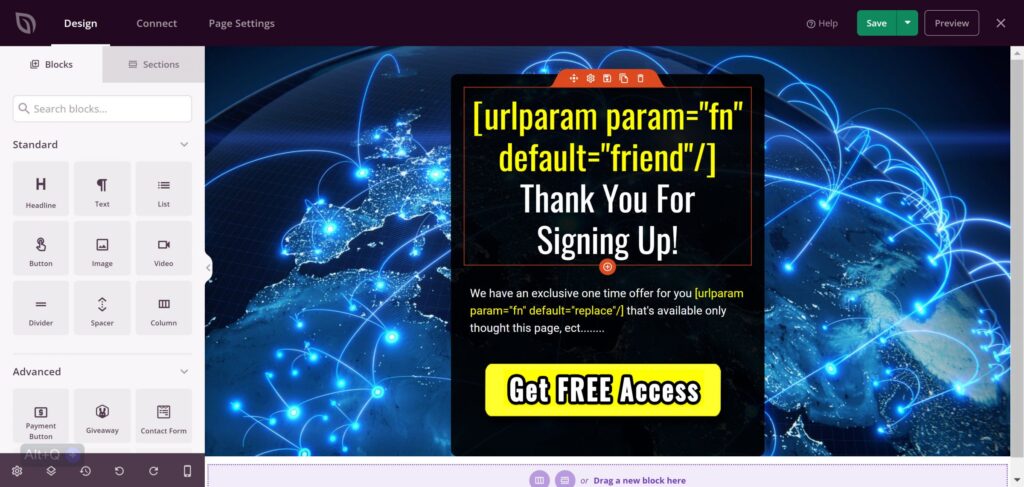
Place this short code in WordPress where you want the user’s name to be shown on your landing page (sales page, blog post….ect).
WordPress Short Code:
[urlparam param="fn" default="replace"/]
Example Screenshot:
Additional Note: Make sure to edit the short code’s parameter name so it matches the name of the parameter you created earlier in CPV Lab Pro.
For instance, in this tutorial, we created the parameter “fn” in CPV Lab Pro so we have to use the exact same parameter name in our short code for the code to work correctly.
Optional: Default Value:
Just in case the user’s name can’t be found you can place a backup text (a default value) by replacing the word “replace” in the short code with any fallback text you’d like to use.
[urlparam param="fn" default="replace"/]
Step 7: Test the dynamic variables in your landing page
Finished! 🙂 Now when users click our CPV Lab link (link, button, or anchor text) in their email then their name will be automatically inserted in the landing page wherever the short code is placed.
In this way the landing page gets personalized and the message started in your email will continue on the page as well.
Here is an example:

Here is also a video describing the steps in this tutorial.
I hope you guys liked this tutorial. Please give me feedback and let me know what kind of other tutorials you’d like to see in the future!
If you want to read more about dynamic variable insertion in your landing page, you can check this article: CPV Lab’s Dynamic Insertion.

Guest Author: Patrick Hill
Patrick is an affiliate marketer with 8+ years marketing experience. He was certified at Meclabs Research Institute in 2019 for value proposition development and a Photoshop designer. He has experience working as a technical support manager at a CPA network, and loves to make graphic design and programming easy for average people.


