
You can increase the performance of your CPV Lab campaign just by switching from low-grade hosting to a professional-grade server like Bunny CDN. Promoting high volumes of traffic with low-grade hosting could cause problems such as click loss and slow loading times for your users, which could impact your overall conversion rate.
These are a few reasons why not to use low-grade hosting plans:
- Slow load times
- Click/view loss
- No CDN
- Limited page views
Performance difference screenshot:

Tutorial: In this tutorial I’m going to show you guys how to host your CPV Lab landing pages with professional grade hosting that can cost as little as $1 per month by intergrading Cloud Flare with Bunny CDN to produce lightening fast landing page speeds for your CPA campaigns.

| Table Of Contents: | Section: |
| Introduction |  Go To Go To |
| ➀ Step 1: Create Pure Bunny CDN Account | Go To |
| ➁ Step 2 : Create Cloud Flare Account | Go To |
| ➂ Step 3: Edit DNS C Name Records | Go To |
|
➃ Step 4: Add MV Lab code |
Go To |
| ➄ Step 5: Adding The Domain | Go To |
| Conclusion | Go To |
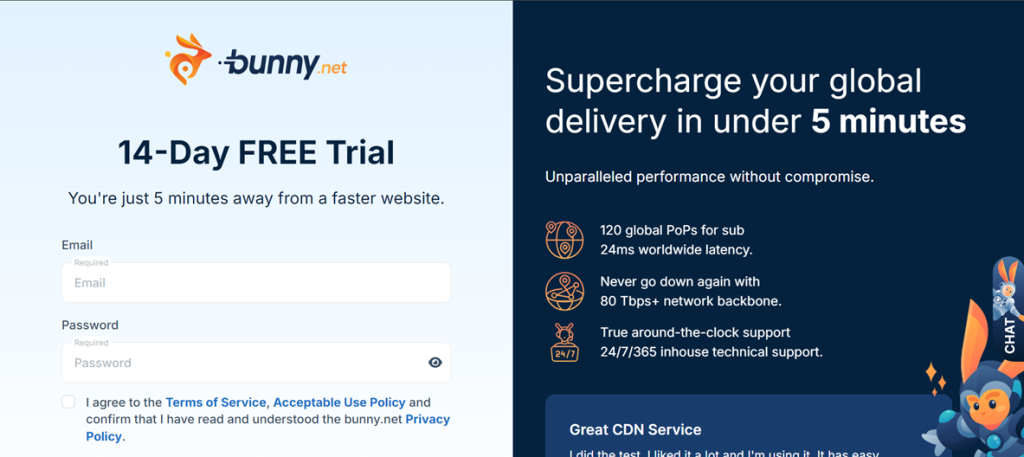
Step 1: Bunny CDN account.
To start we’re going to create a bunny CDN Account.
Step 2: Add Storage zone in Bunny CDN
After logging into Bunny CDN we’re going to click the “Storage” tab in the left hand column.

Then, click the “+ Add Storage Zone” button.

Next, choose the locations closest to the region you’re going to be running traffic to, and click the “Add Storage Zone” button.
Note: You can create separate storage zones for individual CPA campaigns.

After your storage zone is successfully created we need to add a pull zone.

Step 3: Add Pull Zone
We’re going to click the “+ Connect Pull Zone” button towards the top right hand corner of the page

Then we’re going to click “Add Pull Zone“.

We need to create a name for our pull zone, which is basically the name for our Bunny CDN subdomain.

We need to make sure the storage zone we created earlier is selected.

Now in the Choose Tier section we need to select “High Volume Tier” if we’re going to run high volumes of traffic like pop traffic.

Then click “Add Pull Zone“.

Step 4: Add Custom Domain With CloudFlare
To add a custom domain we need to add cloud flares name servers to your domain registrar.

Then, in Cloud Flare’s main dashboard we can click the “Websites” tab.

And select the domain you’d like to use for your custom domain on Bunny CDN.

Then select the “DNS” tab in the left hand column.

Now we’re going to click the “Add record” button.

Then, select the “type” (record type) to “CNAME“.

Add the custom domain URL you want to use into the “Name” field

Then, add your bunny CDN storage domain (subdomain) we created earlier into the “Target” box.

Proxy status need to be turned off since we’re using domain flattening.

Then we’re going to go back to the Bunny CDN section and go the “hostnames” section. and add a custom host name in the “Add Custom Hostname” section.

We’re going to verify our custom domain by clicking the “Verify and Activate SSL” button.

I personally like to force SSL.

Step 5: Bunny CDN FTP Credentials
Now we can copy our FTP credentials.

And paste them into our FTP client, and just drag and drop our files to upload them to Bunny CDN, and we’re done!

Example page:

Conclusion:
Hopefully, this guide helped you create lightning-fast landing pages for your CPV Lab Pro campaigns. Please let us know what you’d like to see next.
For as little as $1 a month, you can switch to Bunny CDN and Cloudflare, achieving top-tier performance without breaking the bank. Imagine the advantage of fast-loading pages and uninterrupted traffic for your campaigns—all at a fraction of typical hosting costs. Take action now to enhance your hosting, optimize your landing pages, and make each campaign count. Start your journey to improved conversions with a minimal investment and see the difference it makes.
Optimize Every Click with CPV Lab Pro
Don’t let valuable clicks go to waste. With CPV Lab Pro, track, analyze, and optimize your campaigns to ensure every visitor counts. Improve your ROI with real-time insights and powerful tracking features. Start maximizing your ad spend today!
Take Control of Your Campaigns
Stop guessing and start knowing. CPV Lab Pro puts you in the driver’s seat, providing full control over every element of your campaigns. Track conversions, test variations, and make data-backed decisions. Take your marketing to the next level with CPV Lab Pro.
Boost Your Conversions with Precision Tracking
Precision is everything in performance marketing, and CPV Lab Pro delivers. Track every click, view, and conversion with accuracy and speed. Identify high-performing elements and scale your winning strategies. Get CPV Lab Pro and watch your conversions soar.
Experience the Power of Data-Driven Decisions
Make every campaign count with data you can trust. CPV Lab’s advanced analytics give you the insights you need to make smarter, faster marketing decisions. Don’t just track your campaigns—transform them. Try CPV Lab today and turn data into growth.

Guest Author: Patrick Hill
Patrick is an affiliate marketer with 8+ years marketing experience. He was certified at Meclabs Research Institute in 2019 for value proposition development and a Photoshop designer. He has experience working as a technical support manager at a CPA network, and loves to make graphic design and programming easy for average people.